Your Onboarding Specialist will complete the set up, and advise you can log in.
Follow the steps below to customise your service
This guide will walk you through the essential setup required to get your service ready to operate in Discover.
To keep things simple, this page will have the settings you need from day one. If you would like to go through all your settings now:
Centre Settings & Set Up
4. Centre / Service Set Up > Roster Tab
5. Set Up your Centre Calendar
Start Here
To find the simple written instructions, use the CRTL key on your keyboard + F at the same time. Type in the setting you are looking for. (Mac will be CMD+F)
Otherwise, detailed video instructions will be provided via Discover Academy.
Accessing Discover
Your Onboarding Specialist has created your initial user account.
To log in for the first time:
- Go to the Discover Log In page
- Select Forgot Password
- Enter your email address and submit
- Follow the email to create your password
- Log in using your new credentials
Setting Up Additional Users
To provide access for other staff:
- Go to Staff Screen
- Open the staff record
- Enter an email in System Login Email
- Select Save
Each staff member will then complete the same Forgot Password process.
The (i) icons will give you extra information about each setting.
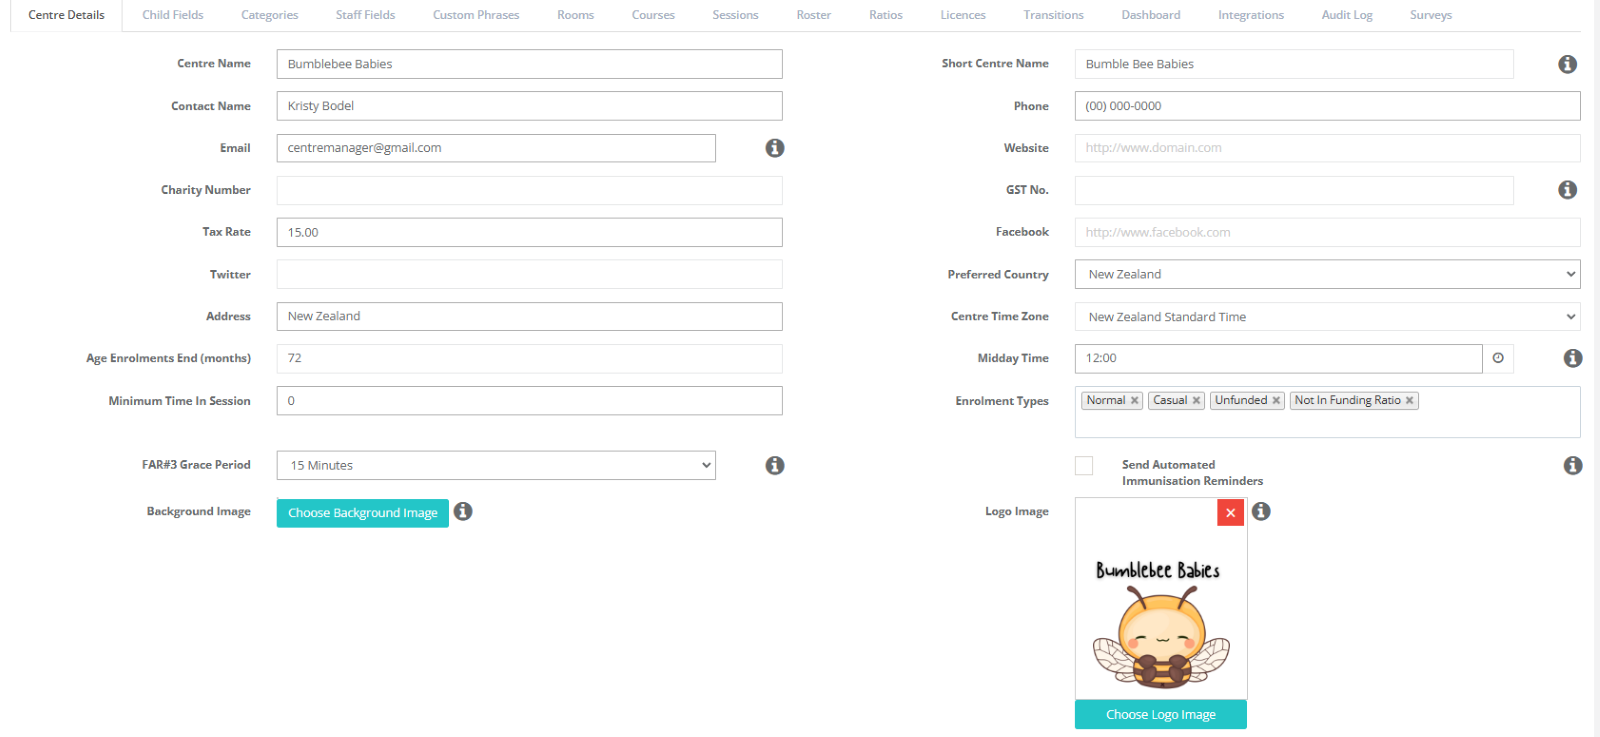
These Settings are found in Centre / Service Set Up > Centre Details by scrolling down the page.
1. Centre/Service Details
Navigate to: Centre Settings/Centre Set Up → Centre Details
Review and confirm:
- Service name
- Email address
- Address and phone number
- Licence information
- Ensure the GST number is added
Important – Email Configuration - Check entire Centre Details page
If not updated, system emails may continue going to the onboarding contact.
Update email addresses in:
- Centre Details
- Xero Integration (if used)
- Email Account Settings (Name / Accounts / Marketing)
- Email Notifications
- Website Widget Enquiries
You may use one shared email or separate addresses.
2. Visual Settings
Navigate to: Centre/Service Setup → Under Centre/Service Details
(scroll down to Upload a Logo)
Optional
Upload:
- Service logo
3. Roster Settings
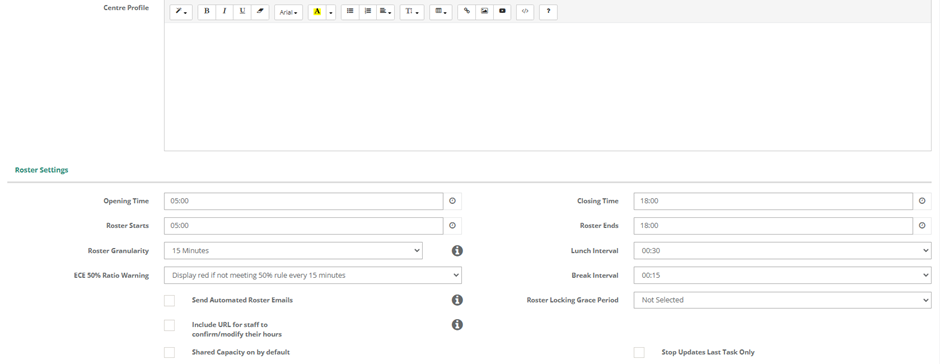
Centre/Service Details> Scroll down to Roster Settings
Review:
- Roster intervals (recommended: 15 minutes)
- Break settings
- Ratio warnings
- Roster locking
- Notifications
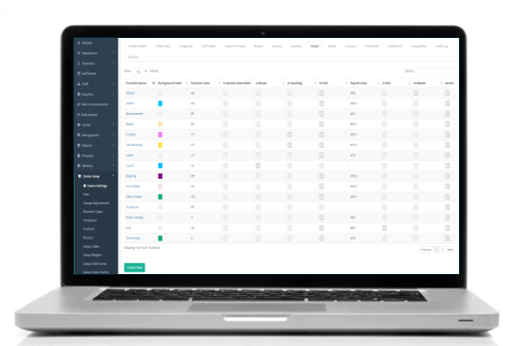
- Roster Tab - This is where you create actions for the Roster & Add in your Roster Codes to match your payroll system.
Action: Complete if you use rostering or payroll.
Centre Settings > Roster Tab
Customise your Roster Tasks and Payroll Codes
4. Set Up your Centre Calendar
Go to: Centre/Service → Calendar
Use to track:
- Holidays
- Child movements
- Staff events
- Key dates
Action: Enter all your Statutory Holidays and Closure Dates
See here for further instructions
5. Templates
Set Up What You Need First
Mandatory
Go to: Centre Setup → Templates
Edit by:
- Selecting the Template
- Making changes
- Saving
Prioritise These
- Default Email Signature
- Tax Statement / Invoice Instructions
You do not need to configure all templates immediately.
Digital Enrolment Form
Your Onboarding Specialist will set this up during Onboarding if required
Customisable via Templates and Child Fields.
Includes:
- Policies
- Declarations
- Fee information
- Upload requirements
Customise your Enrolment Form Guide here
Widgets can be used to:
- Share a direct enrolment link
- Embed the form on your website
- In your Discover Centre Go to Centre Settings > Set Up Widgets
Everything you need to put the Enrolment Form on your Website is here.
Enrol in this Centre link
(Keep an eye out for Enrol in this Centre V4 coming soon!)
If you have had a data Migration, it is best practice to check your data prior to going live.
Please see here for further information.
Milestone 2 Complete
Once the following are done, your foundation is in place:
- User access set up
- Centre/Service details confirmed
- Email settings updated
- Rosters configured
- MOE settings reviewed
You can now continue onboarding or return to optional settings as needed.
Move onto Milestone 3: Managing your Service
Was this article helpful?
That’s Great!
Thank you for your feedback
Sorry! We couldn't be helpful
Thank you for your feedback
Feedback sent
We appreciate your effort and will try to fix the article